Difference between revisions of "Google Authenticator"


[+/-]
Widgets
Widgets<bs-widget-edit>
From SNUWIKI
Ankit.sharma (Talk | contribs) (→No summary) |
Ankit.sharma (Talk | contribs) (→Step 1: Downloading and Installing) |
||
| Line 3: | Line 3: | ||
==Android OS Phones== | ==Android OS Phones== | ||
===Step 1: Downloading and Installing=== | ===Step 1: Downloading and Installing=== | ||
| − | # Visit the | + | # Visit the Google Play Store. |
# Search for '''Google Authenticator'''. | # Search for '''Google Authenticator'''. | ||
# Download and install the application. | # Download and install the application. | ||
Revision as of 10:36, 27 March 2017
Contents
Setup Guide for Google Authenticator
Android OS Phones
Step 1: Downloading and Installing
- Visit the Google Play Store.
- Search for Google Authenticator.
- Download and install the application.
Step 2: Launching Application
- Find the application in the app menu and launch the application.
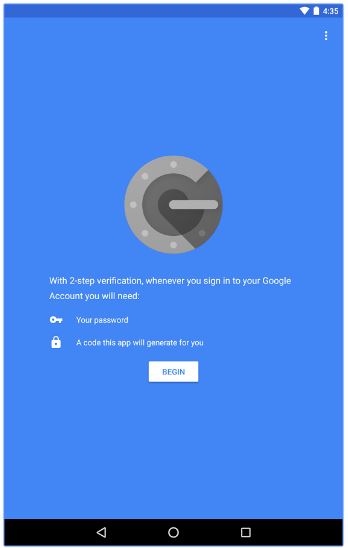
Step 3: Setup your account
- Tap on Begin
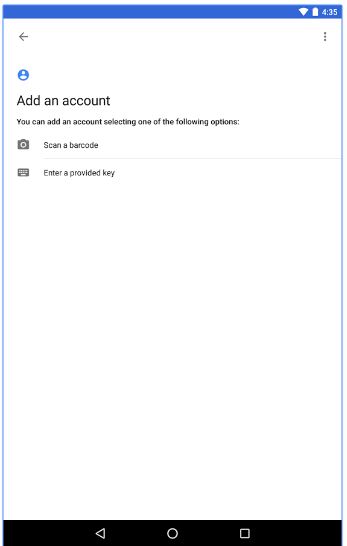
- Tap"Scan Barcode" and then point your camera at the QR code (send to you in the email by the Magus Admin Team) on your computer screen.
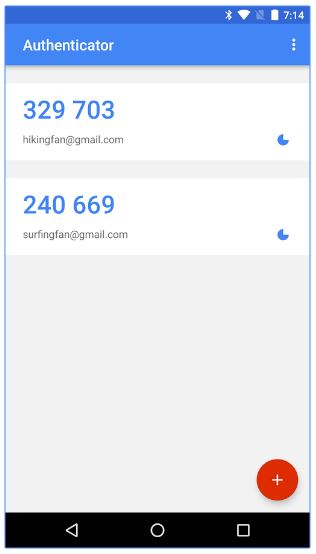
- After the scanner scans the QR code the account will be added to your Google Authenticator App in your smart phone.
- Verify that the Google Authenticator Application is showing some random numbers like this screen.