Setup Guide for VDI Client Setup
Download the client for VMware Horizon
Step 1: Downloading and Installing
1. Download the client from the url: http://download.snu.edu.in/vdi/vdiclient.exe
2. Run the downloaded setup to install the client
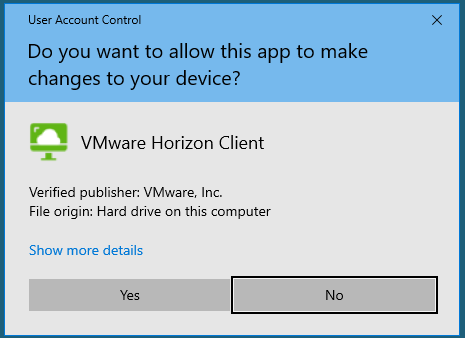
3. Click on "Yes" on the UAC prompt to allow the setup to continue
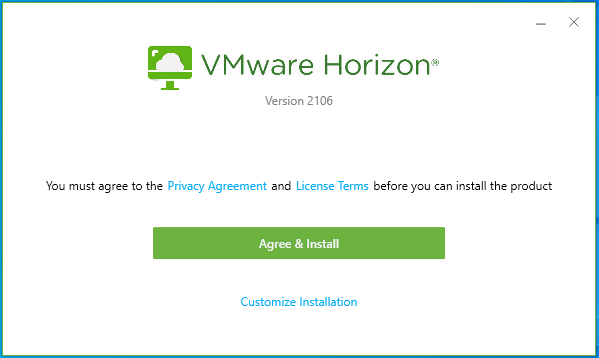
4. Click on "Agree & Install"
5. Click on "Finish" once the installation is completed.
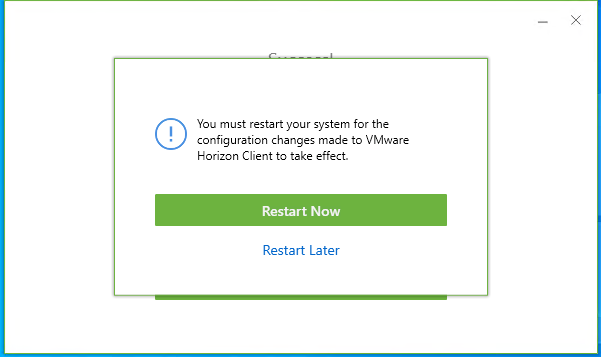
6. Click on "Restart Now" or optionally, you may choose to "Restart Later"
Step 2: Launching Application
1. Launch the application from the desktop icon created by the setup.
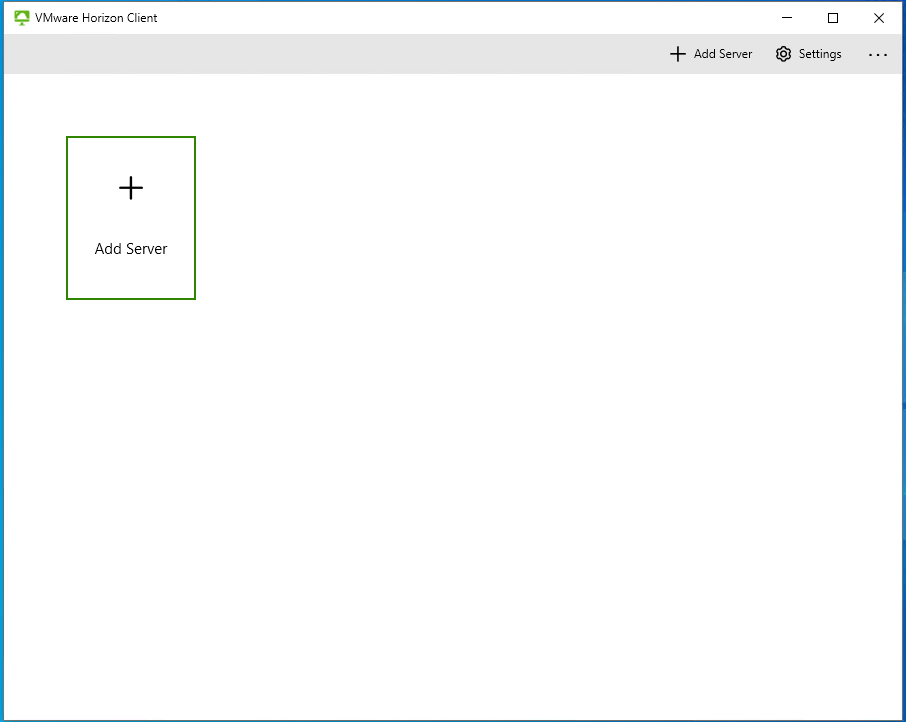
2. Click on Add Server (please note: this is only to be done once).
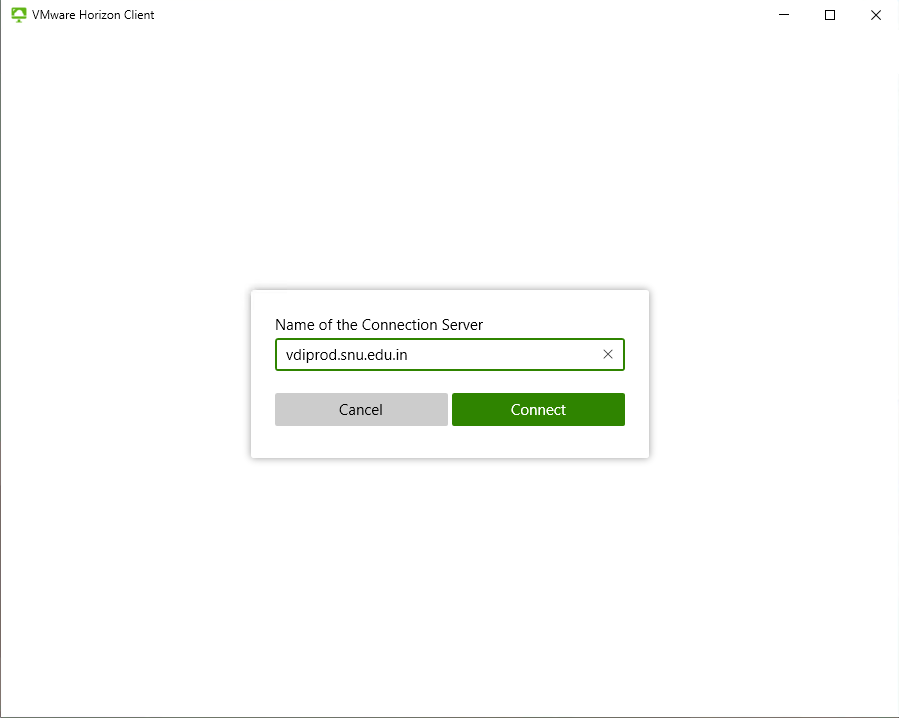
3. Enter "vdiprod.snu.edu.in" as the name of the Connection Server and click on "Connect"
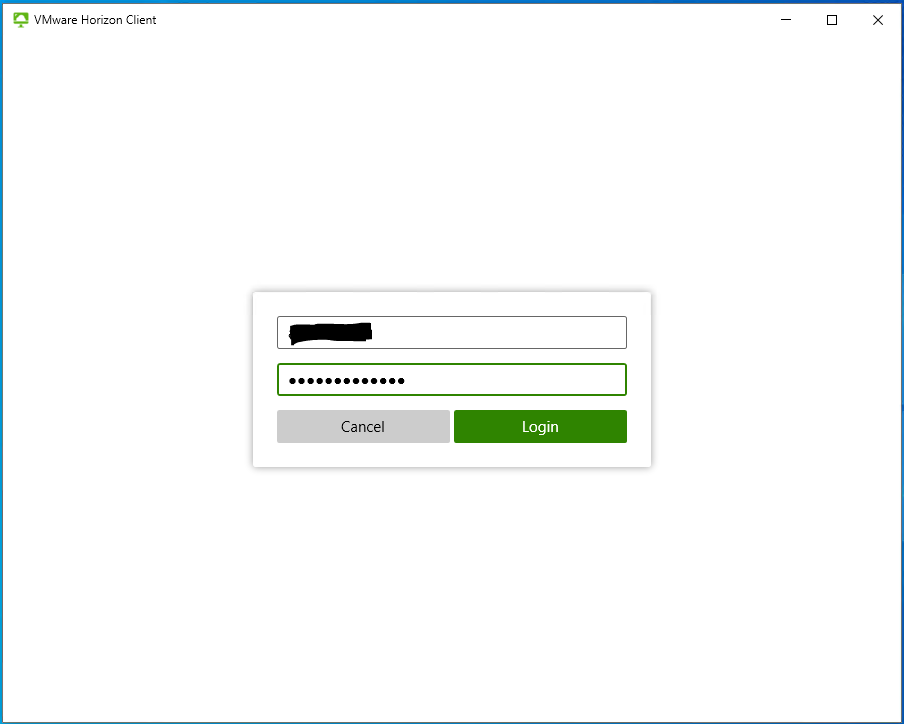
4. You will be prompted to enter your Username and Password

5. Enter your SNU Net ID (Ex: [email protected]) and Password and click on "Login"
6. Your assigned Virtual Desktop(s) will be presented to you on the screen.
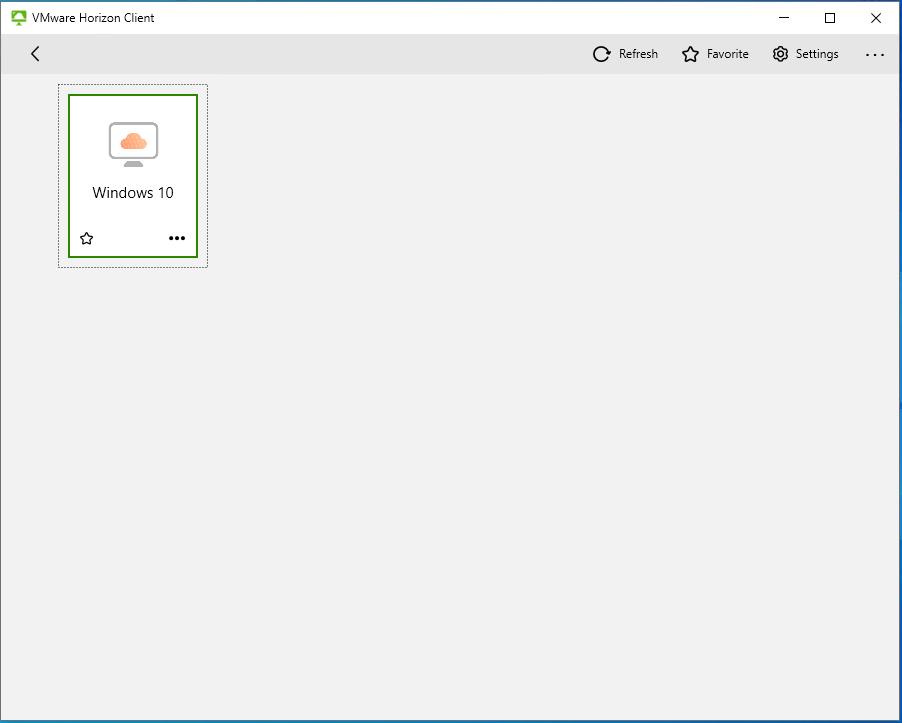
Step 3: Accessing your Virtual Desktop
1. Double left click on the desired Virtual Desktop you want to access.
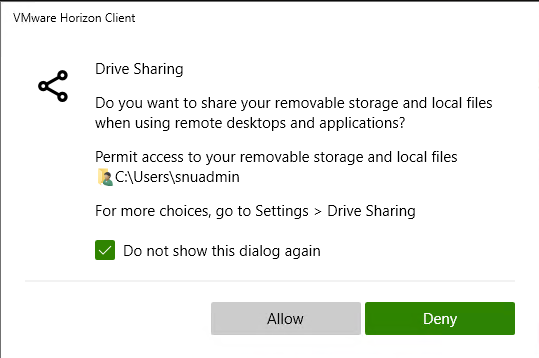
2. You may choose to Allow your local drive sharing, if you want to share your local pc drive, click on "Allow" else click on "Deny"
3. Your Virtual Desktop is presented to you, you may work on it like you would normally.
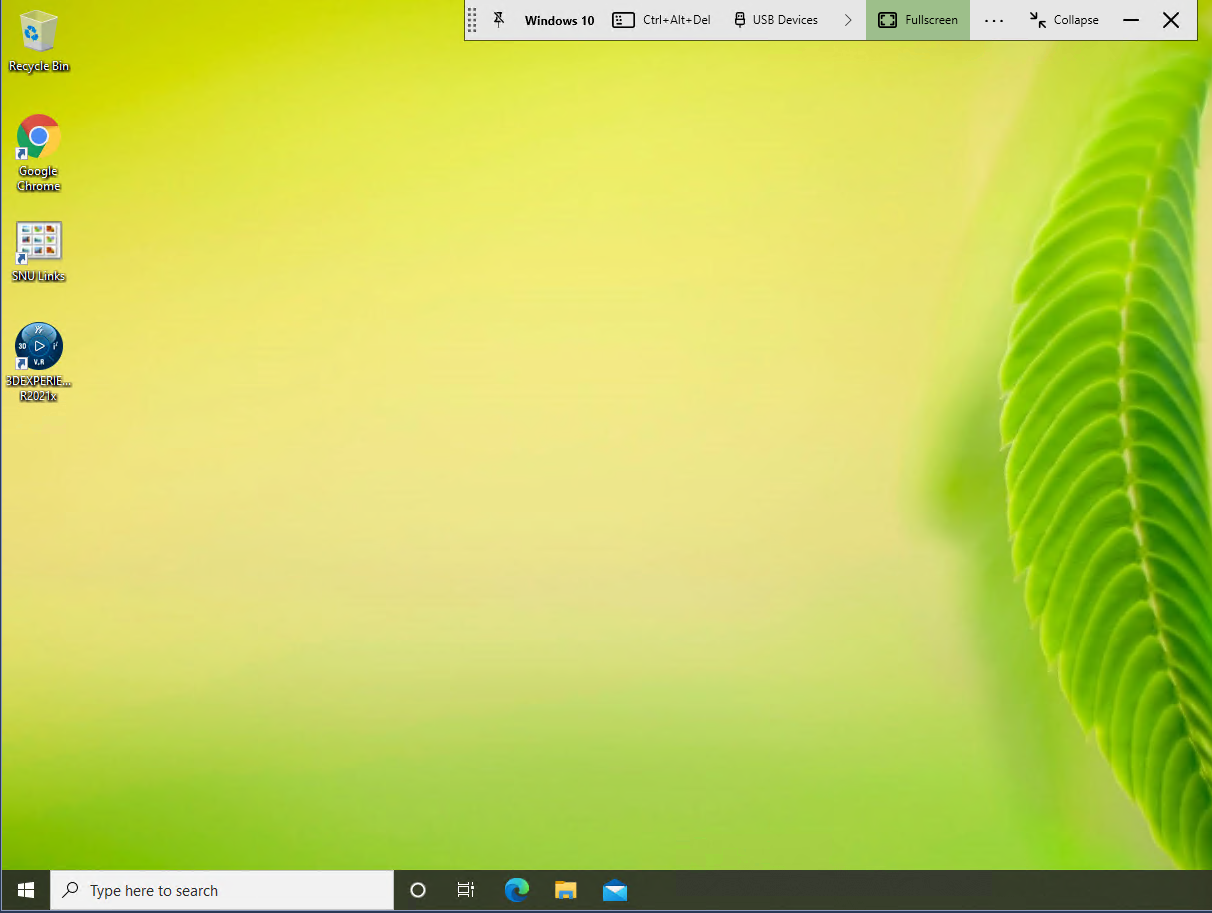
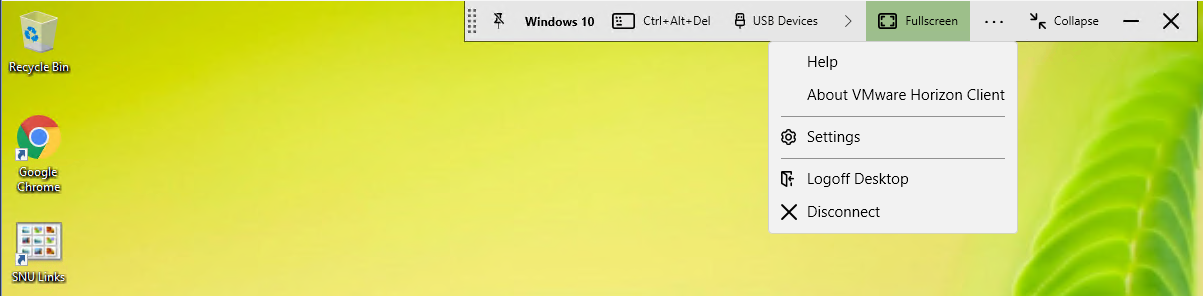
4. To Disconnect from the Virtual Desktop, click on the Three Dots icon in the title bar of the horizon client and then click on "Logoff Desktop"
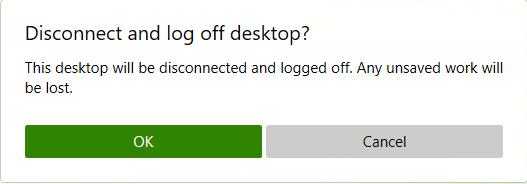
5. Click on "OK" on the confirmation screen to Logoff your desktop
Kindly note:
- You can only access one desktop at a given time.
- If you do not logoff your desktop and simply disconnect or close the application, the system will initiate a logoff after 5 mins.
- You may go through the Do's and Don't for using the VDI platform at: